Creating a site
A site is your own copy of the project you contribute to, cloned into a folder you choose: wordpress-develop, the WordPress core development repository, or gutenberg, the block editor's. You can create as many sites as you like — each one is an independent checkout with its own working tree.
You do not need one, though, for every work item. A site holds as many Core tickets or Gutenberg issues as you like, each on its own branch, and moving between them costs seconds rather than another clone and another build — see Working on several work items. Create a second site when you want a genuinely separate environment: a different snapshot of trunk, or somewhere to test somebody else's work without disturbing the site you are working in.
When the app starts with no sites, the main area shows a short prompt to create your first one.
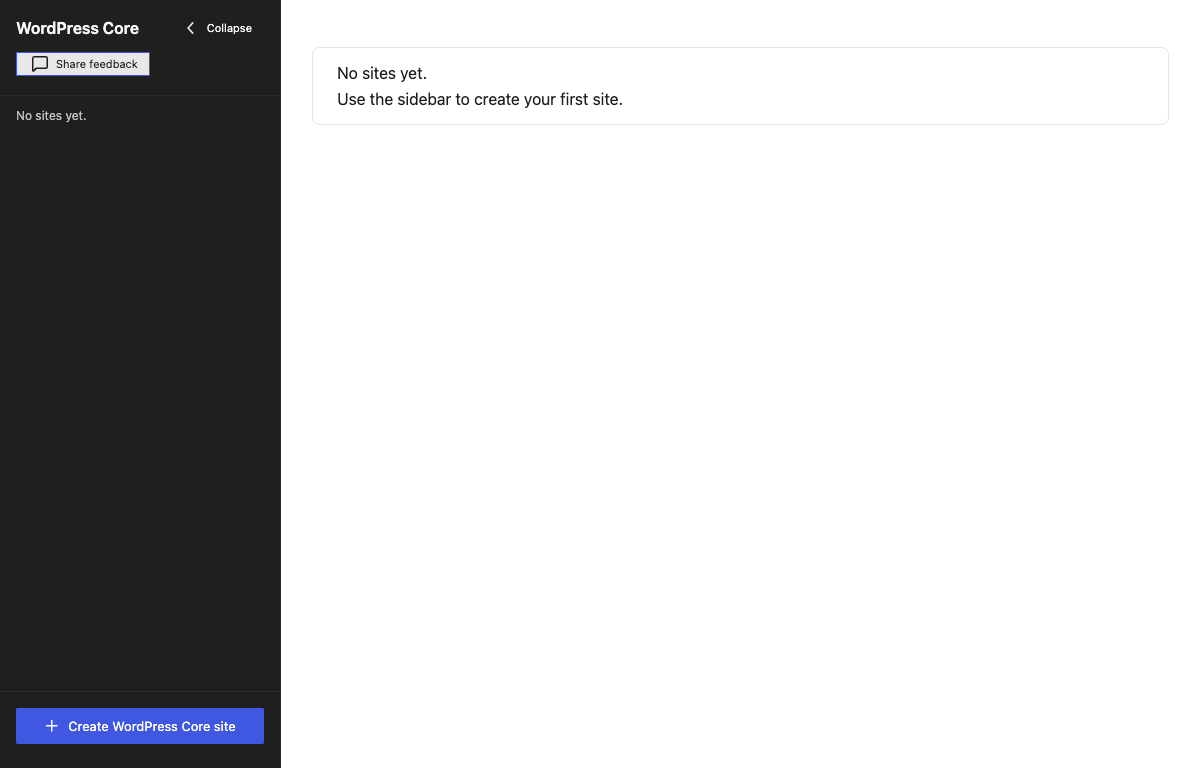
Start the creation flow
Click Create a site at the bottom of the sidebar. A dialog opens with three fields.
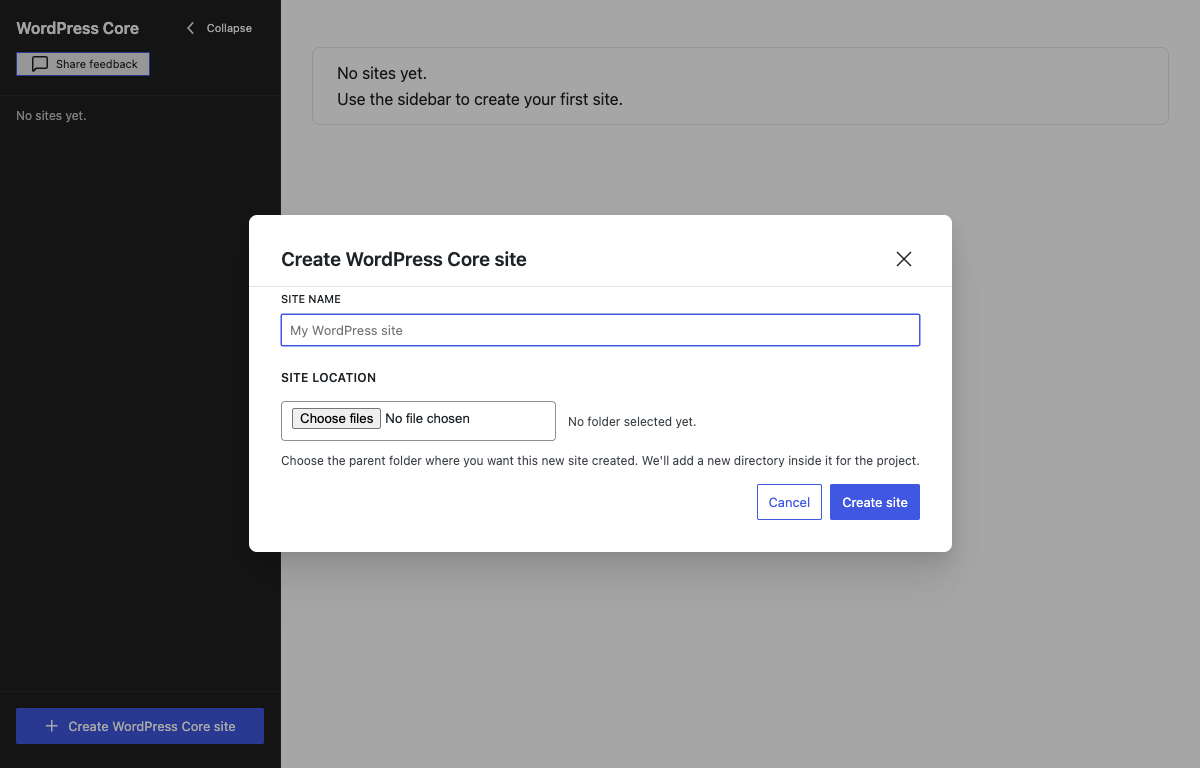
- Site name — the label shown in the sidebar. It also determines the folder name: spaces and characters that are not valid in file names become hyphens, so a site named
My WordPress sitelives in a folder calledMy-WordPress-site. - Contribute to — which project this site is a checkout of. WordPress Core clones
wordpress-developand works from Trac tickets, patches and pull requests; Gutenberg clones the block editor's repository, builds it and runs it as a plugin in a stock WordPress, and works from GitHub issues and pull requests. The choice decides what the site clones and how it builds and runs, and it cannot be changed afterwards: create another site for the other project. - Site location — the parent folder where the site will be created. The app adds a new directory inside it for the project; it does not clone into the folder you pick directly.
Click Create site (or press Enter) to start. Cancel or Escape closes the dialog without creating anything.
What happens during setup
The app clones the project's repository from GitHub (WordPress/wordpress-develop or WordPress/gutenberg) with the Git it ships inside the app, so no system Git installation is involved. The clone carries the full history but fetches file contents on demand, so it is not much larger than a shallow one.
While the clone runs, the site view shows a Setting up new site… card with the current phase and a terminal panel streaming progress output. Expect it to take a few minutes depending on your connection.
The clone is the first step of the initial setup checklist; the remaining steps stay locked until it finishes. Then the app carries on by itself — installing the dependencies and running the first build without waiting for you — so the only step left to click is starting the dev server.
If setup fails, the half-created site is removed from the list — the row simply disappears. The reason goes to the application log rather than to a dialog, so Help → Open App Log is where to look when a site never finishes.
Where sites live on disk
Each site is an ordinary folder on your disk: the parent folder you chose in Site location, plus a directory named after the site. Inside is a normal wordpress-develop or gutenberg checkout — you can open it in any editor or file manager. The app only records the path and some metadata; deleting a site from the app also attempts to delete this folder (see Managing sites).
The site list
Every site appears in the sidebar, newest first. Click a site to switch to it; the button for the active site is highlighted. Every site carries its project as a tag on its row and next to its status, Core or Gutenberg, so the two kinds are told apart at a glance; on a Gutenberg site the checklist, the terminal and the cards on its page follow suit (a GitHub issue instead of a Trac ticket, and pull-request checkout instead of Trac attachments or a local patch-file picker). The chevron at the top collapses the sidebar to a narrow strip showing only each site's initial.
A colored dot next to a site name warns that it has fallen behind trunk:
- Amber — the checkout is more than 14 days old.
- Red — a previous update moved the code but never finished installing or rebuilding.
Both are fixed by updating to the latest trunk — you never need to create a new site just to get newer code.